


Okay, let’s go and setup Azure Site Recovery.
- Login into https://portal.azure.com
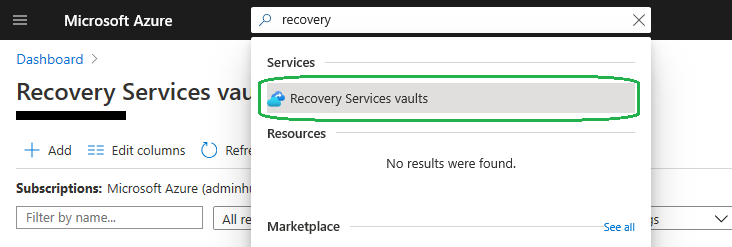
- Do a search for “Recovery”, click the “Recovery Services vaults”, then open your Vault
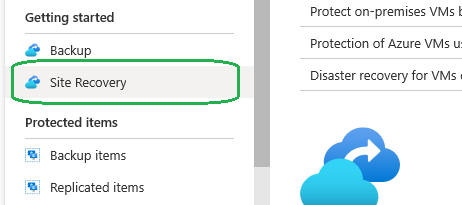
- Under Getting Started, click Site Recovery
- Click “Prepare infrastructure”, then choose the replication source and destination
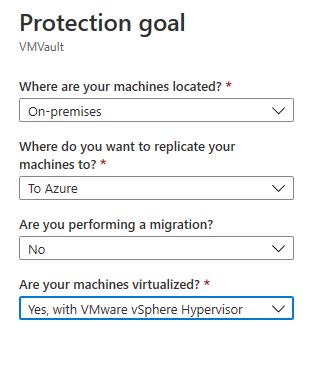
When prompted if you have completed deployment planning, choose Yes.
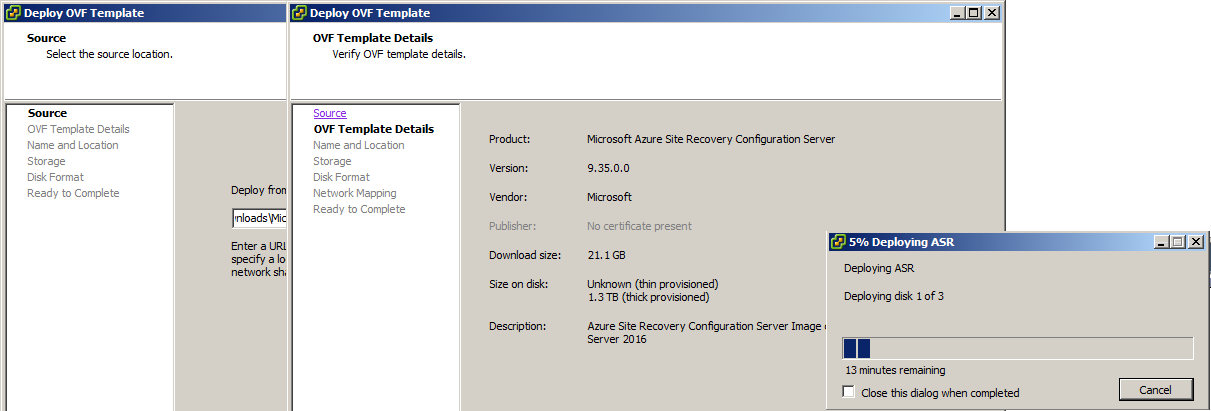
- Click +Configuration Server and download the *.ova
** This file is a complete VMware VM deployment template ~20GB **Tip: Download the file to a computer that has VMware Client installed.
- Once the *.ova has finished downloading, open VMware Client and click File > Deploy from OVF
- Go through the steps to deploy the template, give it a name, resources & network mappings as required.
For this example we have left all the default settings. - Power up the VM, then accept all the T&Cs and supply a password
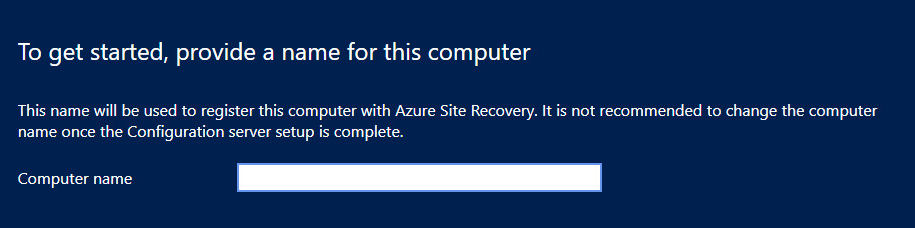
- The server will reboot, be patient after login as you will be presented with a prompt to provide a Computer name, obviously provide one.
- Configure an IP address if prompted, you will also be asked to sign-in. For this sign-in use your Azure Tenant account. Finish the setup process as required and the Server will once again reboot.
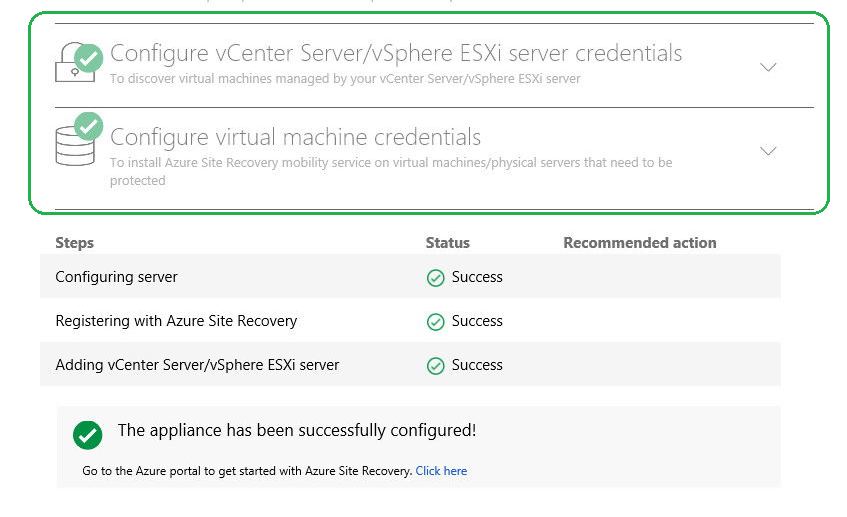
- After the server reboots, IE will open and you will be required to register the VM with Azure Site Recovery. Follow the prompts as required, you will need to provide:
- Vmware ESXi credentials
- Windows domain credentials
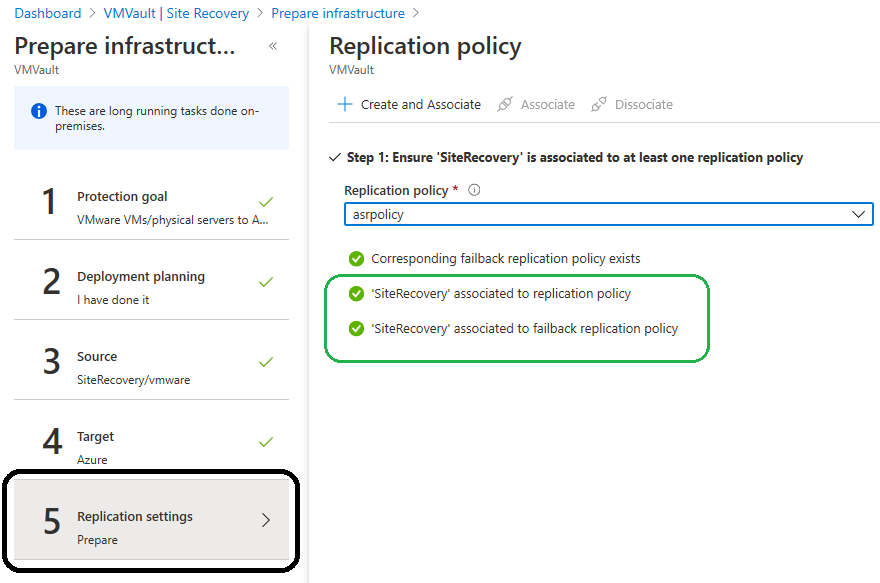
- Head back to the Azure Portal, open the Recovery Service Vault > Getting Started > Site Recovery in order to complete the Wizard. Create a Replication Policy as required with RPOs as needed for your DR requirements.
- Finally we are now ready to replicate our machines to Azure, to do so head back to the Recovery Services Vault > Protected items > Replicated items
- Click +Replicate and complete the Source details as follows;
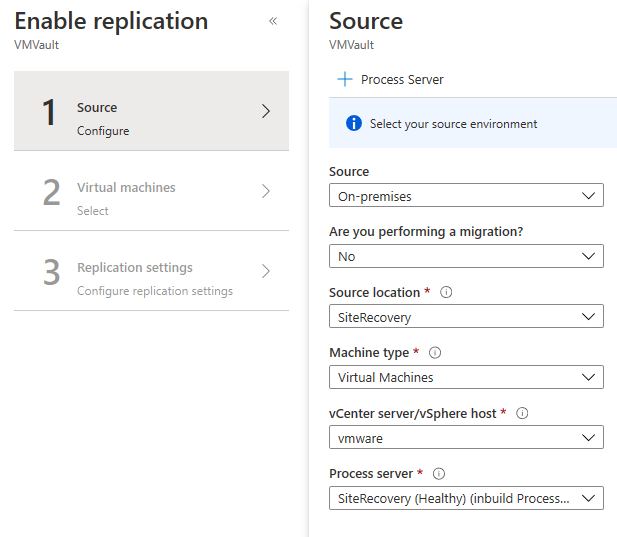
- Complete the wizard as required, choose your source VMs, the type of Azure VM you want (HDD type etc) and the Replication policy created earlier.
- The Replicated items blade will show the progress of the VM being replicated, this process will take a very long time (hours) depending on the size of the VM.
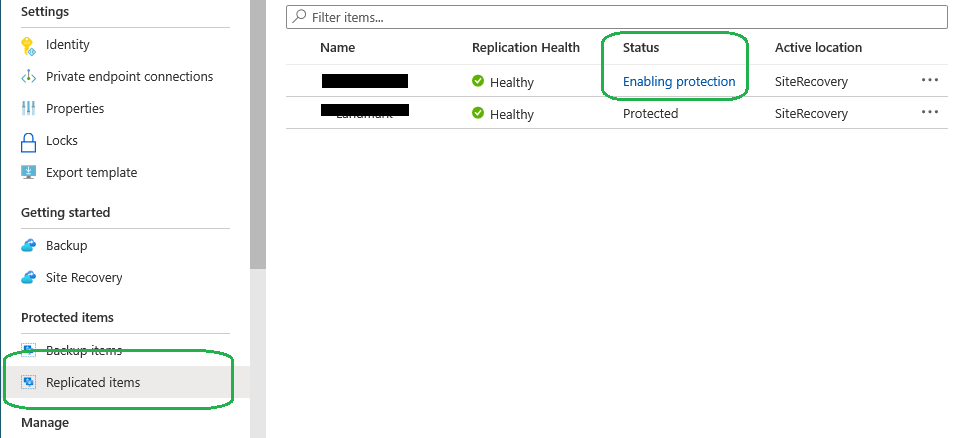
- Once replication is done, its status will say ‘Protected’.
If you followed this article this far, then you have just made yourself a DR environment in Azure. Have a play around with the Site Recovery blade, there are some options you can tweak for the fail-over. I recommend a test fail-over be done at least once a quarter to test your DR strategy.
As always, please reach out if you need assistance with this.