


Grant “Send on Behalf” for Microsoft 365 Public Folders
If you have mail-enabled public folders you might have staff that need to be able to either “send as” or “send on behalf of” the public folder.
We strongly recommend you move away from public folders and migrate to a group, team or shared mailbox, depending your actual needs, but if you still use public folders and need to change the access, this is how you do it:
- Log into the Exchange admin center
- Select public folders
- In the list view, select the public folder that requires the permissions, and then click Edit (the pencil icon).
- Select delivery options, and then add the user to Send As or Send on Behalf permissions, as required
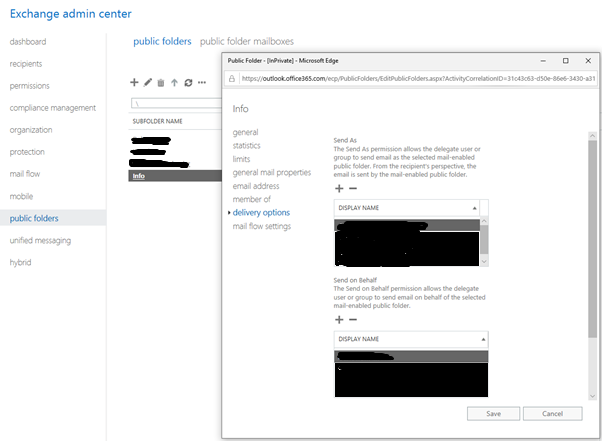
- Select Save
Unless there is a specific reason, I would not recommend using “Send As” in a team environment because it becomes very difficult to tell who sent a message. The message will appear to come from the public folder.
“Send on behalf” still sends the email from the public folder but it will show the name of the person that sent the message “on behalf” of the public folder.
The only time you may want to use Send As instead of Send on behalf is where you don’t want your audience to know who actually sent the message. Just remember that can also pose a problem for you if something gets sent that shouldn’t and you need to track it down!