


Microsoft Azure Windows Virtual Desktop
Organisations who currently have Azure resources in the cloud, either hybrid or fully migrated, can now replace their Remote Desktop Server (RDS) with Windows Virtual Desktop (WVD). WVD allows users to connect to session hosts similar to RDS but have a desktop experience. Previously when connecting to an RDS server, users were actually receiving a server experience as RDS runs on a Windows Server 2016/2019 system.
WVD is much more application flexible as it allows for typical applications to be installed as they would be on a Windows 10 desktop. As WVD is on Azure it is scalable, you can increase or decrease the amount of sessions hosts as required. Similar to RDS, you can either present a full desktop for the user or just publish required Line of Business (LOB) applications.
Access to WVD can be from anywhere on any device that has a HTML5 enabled browser or client application.
As an extra bonus, if your organisation has multi-factor authentication (MFA) enabled you can leverage the added login security.
Okay, before we go through the deployment, you need to ensure you have the following already in place:
- Active Directory (AD) synced to Azure Active Directory (AAD) using AD Connect
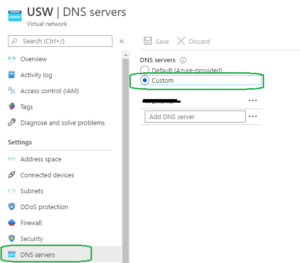
- VNET already configured with DNS pointing to your AD
- VPN to Azure (if your current AD is on-premise)
If you don’t have all of the above, please take a look at some of our existing articles that cover these requirements.
Deployment Steps
- First we need to ensure we have enabled the Desktop Virtualization Provider, search for Subscriptions
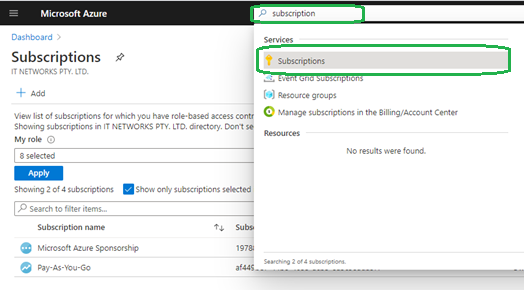
- Click on the Subscription which will house the WVD environment > Resource Providers
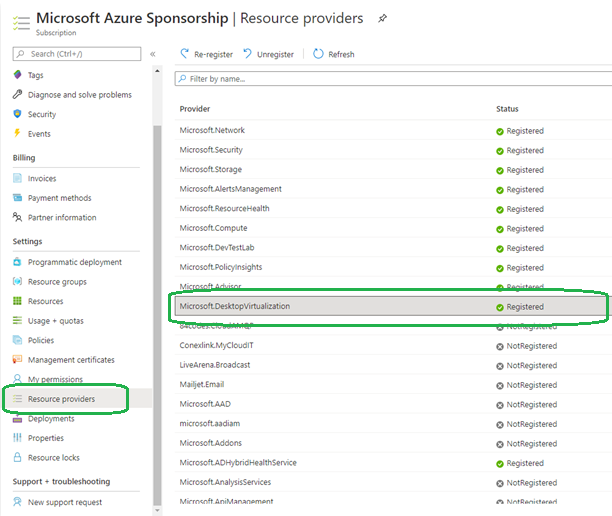
- Ensure that Microsoft.Desktop.Virtulization is Registered, if not obviously register it.
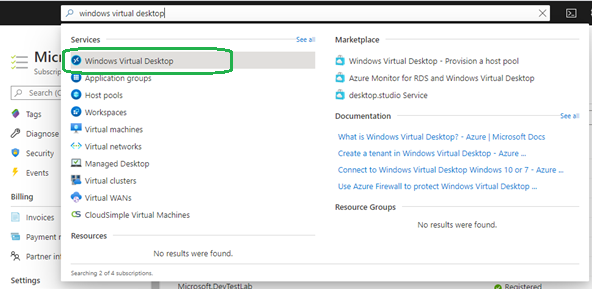
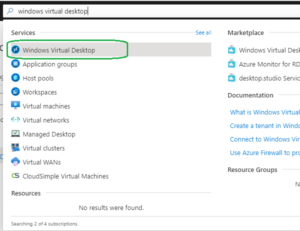
- Search for Windows Virtual Desktop, then create a Host Pool
- Complete the blade as required
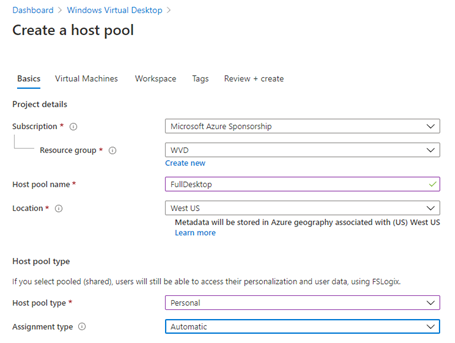
- Host Pool Type Personal = Users will get their own desktop
- Pooled = Users share session hosts
- Click Yes to add virtual Machine
- Choose the type and number of resources as required
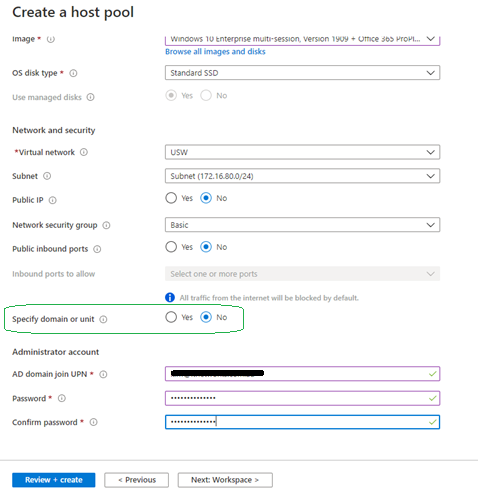 Specify domain or unit:
- Yes = You type in your AD domain name – Don’t do this unless you have some really old legacy services like Microsoft SBServer!
- No = Your domain will be taken from the part after the @ under AD domain join UPN
For example, using administrator@itn.com.au will use “itn.com.au” automatically.
Administrator Account: enter in an account that has rights to join computers to a domain.
- Choose Yes to register the app Group, then create a new Workspace
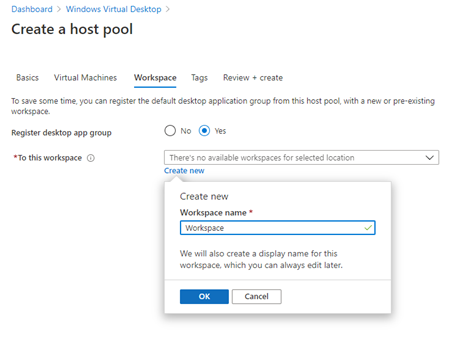
A workspace is a tiled list of Apps that will be presented to the user after they login - Finish creating the Pool.
- After the pool is created you need to assign users who are allowed to access the Application you have assigned to the Workspace. Click on your Application Group > Assignments
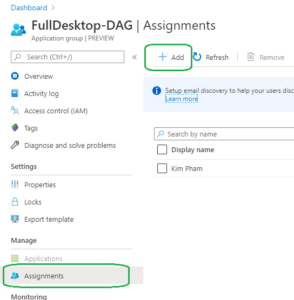
Add all the users that are allowed to access the Application - Users can now access the WVD Session Host by using a HTML5 compliant browser or downloading a client application.
- If you want to deploy a specific application such as Microsoft Access, search for Windows Virtual Desktop
- Click Application groups > Add > Applications
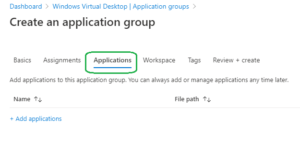
- Complete the Application source details as required.

- Once done, in this example we will add the application ‘Microsoft Access’ to the users Workspace after they login.