


The ability to secure your Windows Remote Desktop Server (RDS) with Multi-Factor Authentication (MFA), also sometimes referred to as Two Factor Authentication (2FA), should be very high on your security checklist.
RDS secured with nothing other than a username & password makes it open for attack. Sure, you can use third party products such as RDPGuard to protect your server or even use a port other than 3389, but this is just a reactive approach.
To secure your RDS using MFA, all you need is:
- An existing Office365/Microsoft365 tenant (i.e. account)
- A Remote Desktop (RD) Gateway role configured on your RDS
- An Active Directory Server synced with Azure Active Directory (AAD)
Configuring MFA
- Install the Network Policy Service (NPS) on your AD server
- Download and install the NPS Extension on your AD
https://aka.ms/npsmfa - Open PowerShell as Administrator on AD
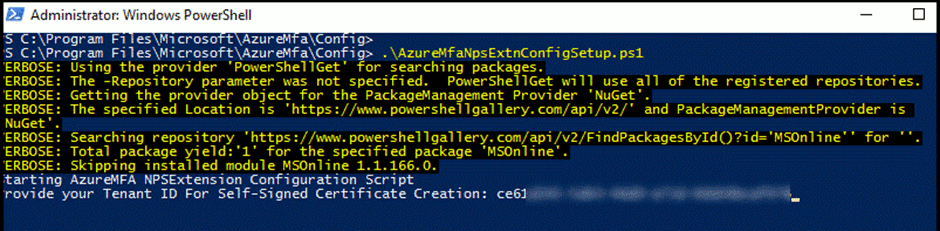
- Go to c:\Program Files\Microsoft\AzureMfa\Config
- Execute .\AzureMfaNpsEnxtConfigSetup.ps1
- When prompted for Sign-In, use your Tennant Account
- You will be asked to provide a Directory ID, to get this Sign into https://portal.azure.com Azure Active Directory > Properties
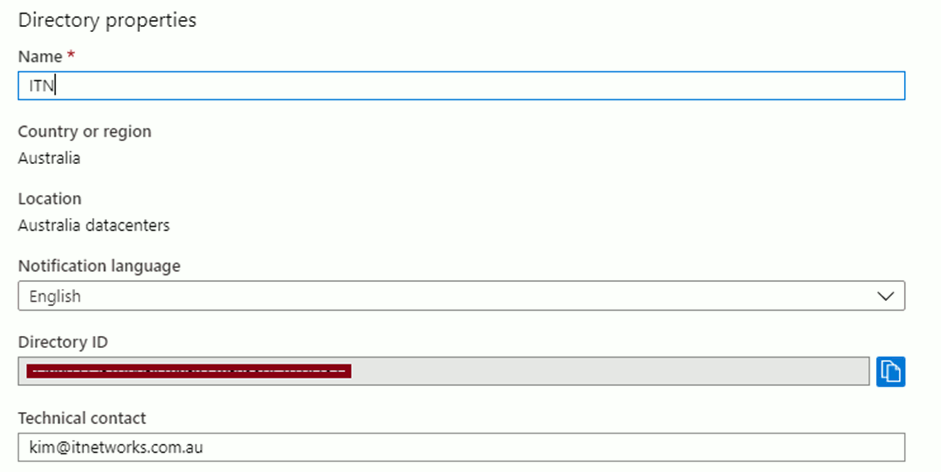
- Paste the Directory ID into PowerShell, and then continue to let the script run
- On your RDS server open up Remote Desktop Gateway Manager
- Right-click the Server name > Properties > RD CAP Store
- Choose ‘Central server running NPS’
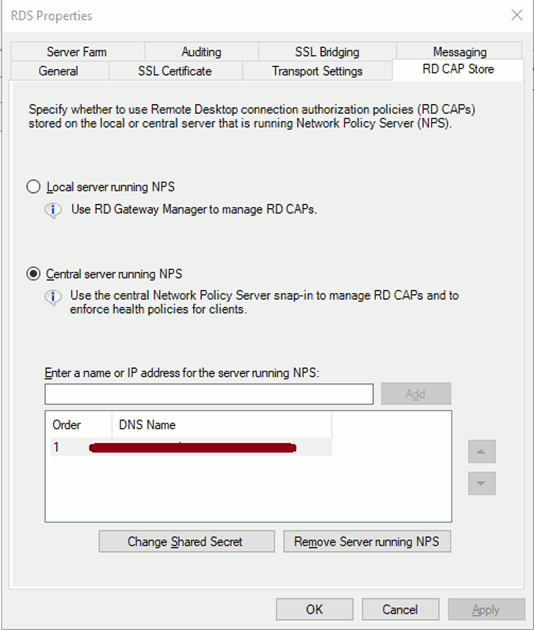
- Type in your AD server name or IP address > Add
- Enter in a Shared Secret, note this as it will be used later
- On your RDS server open up Network Policy Server
- Expand RADIUS Clients and Servers > Remote RADIUS Server > TS GATEWAY SERVER GROUP
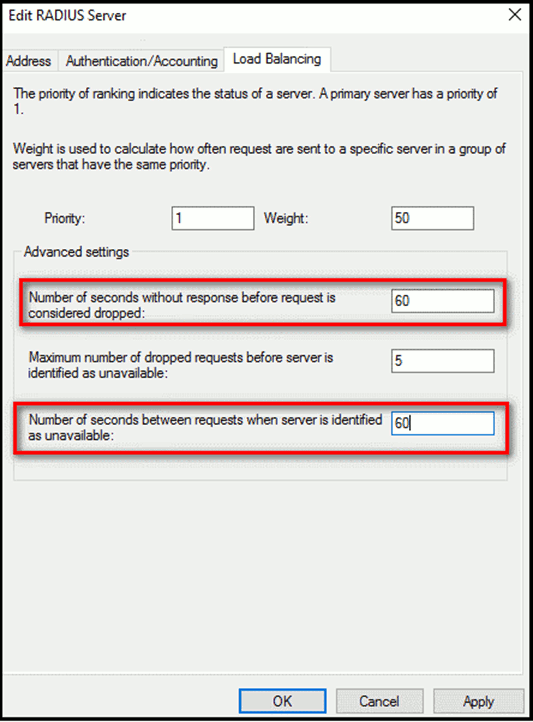
- Select the RAIDUS Server > Edit > Load Balancing
- Change the Seconds to 60 for both
- Reboot your RDS
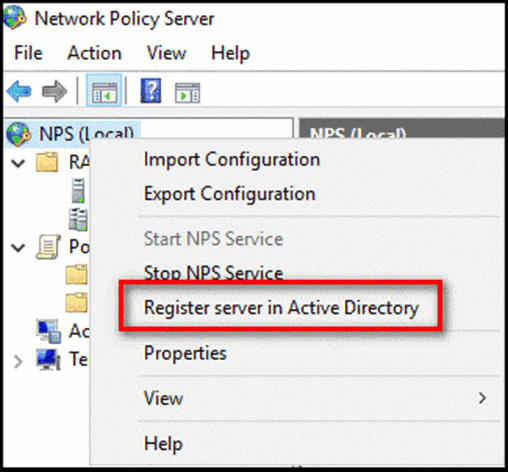
- Head over to your AD Server > Network Policy Server
- Right-Click NPS (local) > Register server in Active Directory
- Expand RADIUS Clients and Servers > Right-Click RADIUS Clients > New
- Give it a name such as RDS and then enter the secret you created in step 13
- Expand Policies > Network Policies
- Right-Click Connections to other access servers > Duplicate
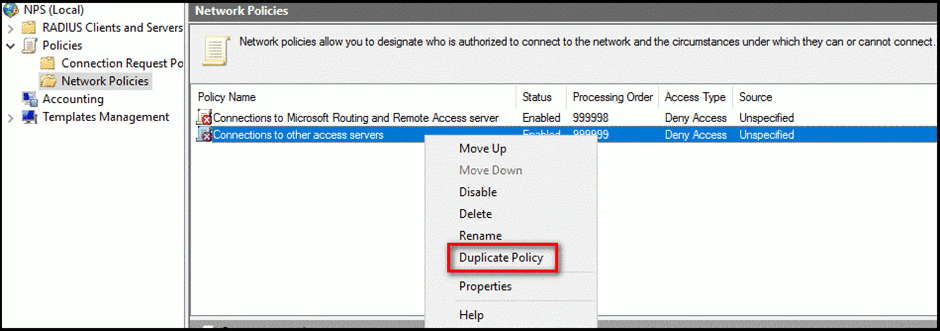
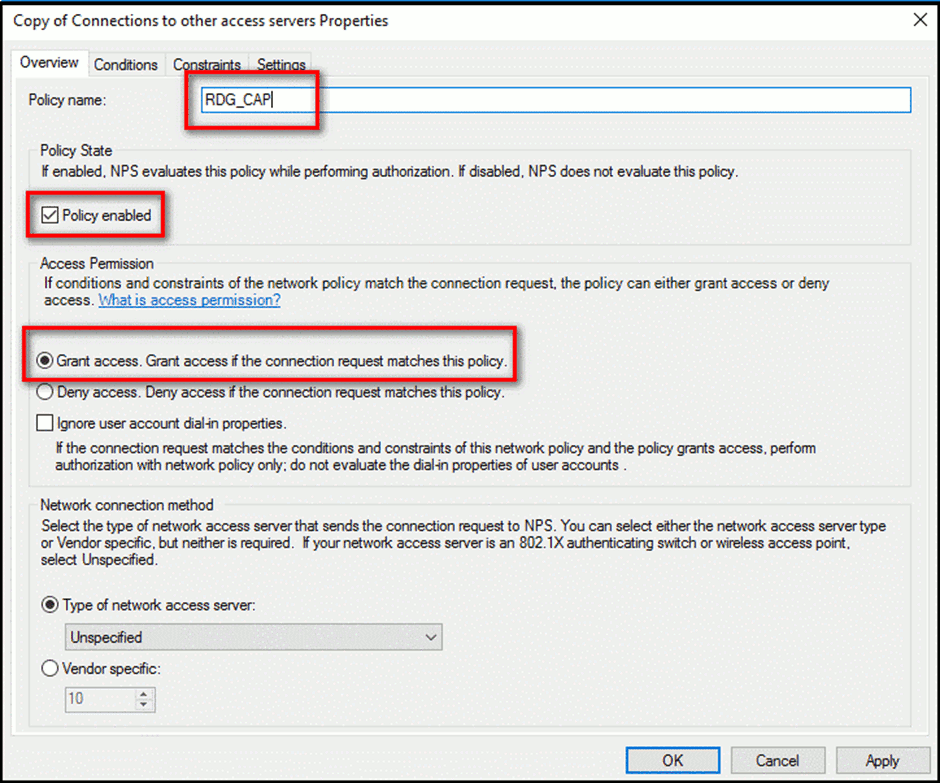
- Give it a name such as RDG_CAP
- Double click RDG_CAP > Overview > Grant access
- Conditions > Add > User Groups > Add a AD group who you want to allow
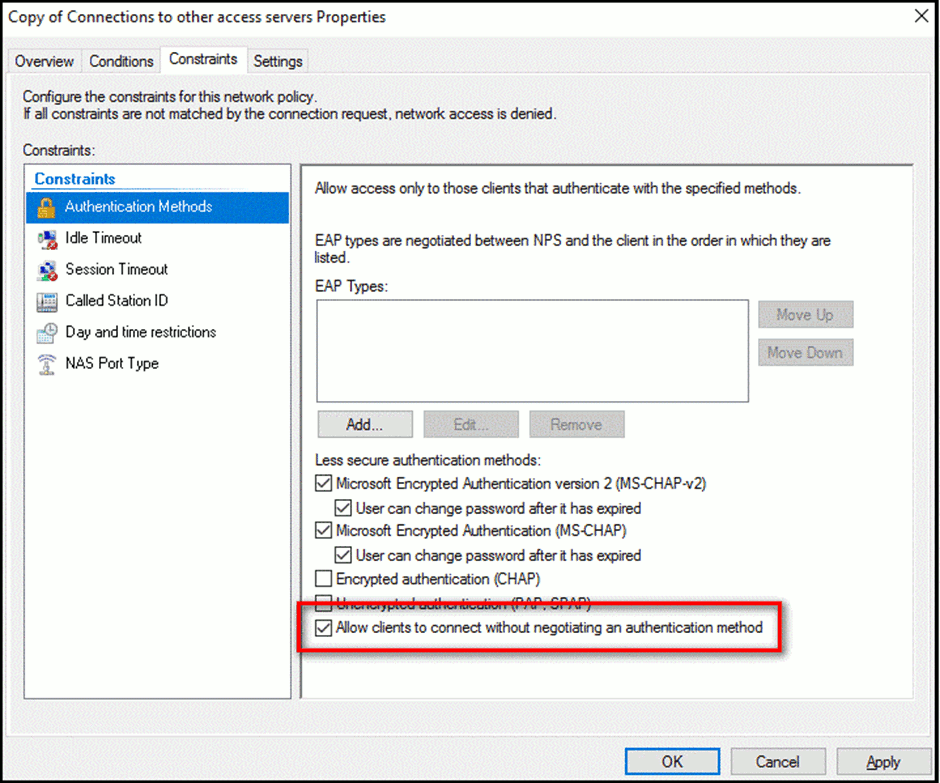
- Constraints > Authentication Methods > Tick Allow clients to connect without negotiating.
- Move the Policy RDG_CAP to the top position 1
All done. If you need a hand feel free to reach out.
Contact IT Networks regarding any aspect of your IT support requirements. All it takes is a brief phone consultation.