


One of the first steps when moving from your on-premise infrastructure to the cloud is establishing a VPN between the two. While you could just open your Azure Cloud Infrastructure to the whole internet, this obviously comes with many risks and is not recommended unless it is by design and the necessary security is implemented to secure access.
A Virtual Private Network, or site-to-site VPN between your office and Azure is much more secure. It is also not too hard to do!
Setting Up The Azure VPN:
Prerequisites:
- An existing Azure Virtual Network and Virtual Network Subnet
Instructions:
- Log into https://portal.azure.com and head over to the marketplace
- Search for ‘Virtual Network Gateway’ then create this:

- Create the Gateway as follows
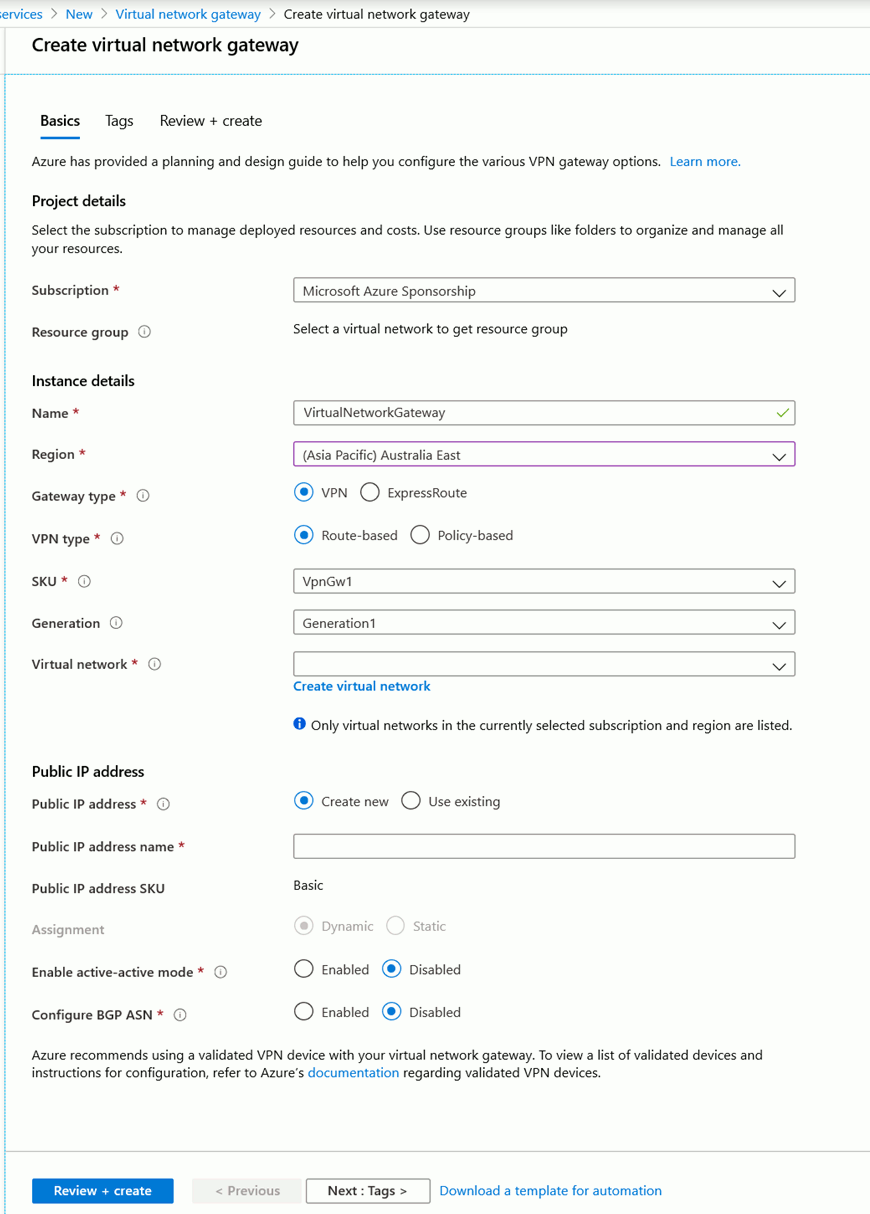
- Virtual network = Create a Virtual Network or choose one
- You typically will only need a network size of /29 – you can go larger, but this is wasteful.
- Create a ‘Local Network Gateway’ from the marketplace
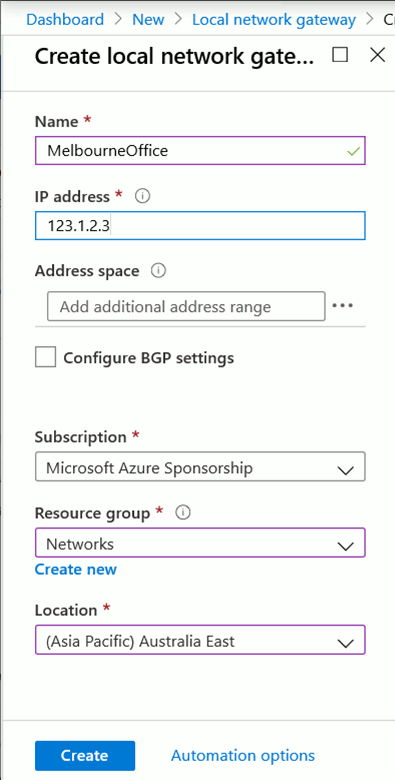
- Name = Give this the name of the site you are connecting e.g. Melbourne office
- IP Address = This is the public IP of your Office router
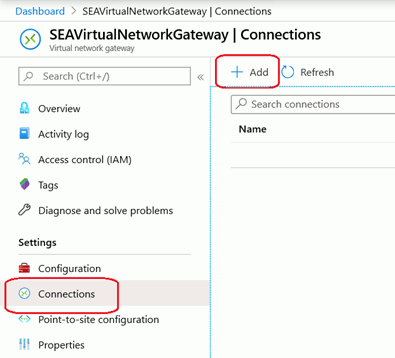
- Head back to your Azure Dashboard and open the Virtual Network Gateway you created earlier
- Click on Connections then Add
- Enter in the details as follows:
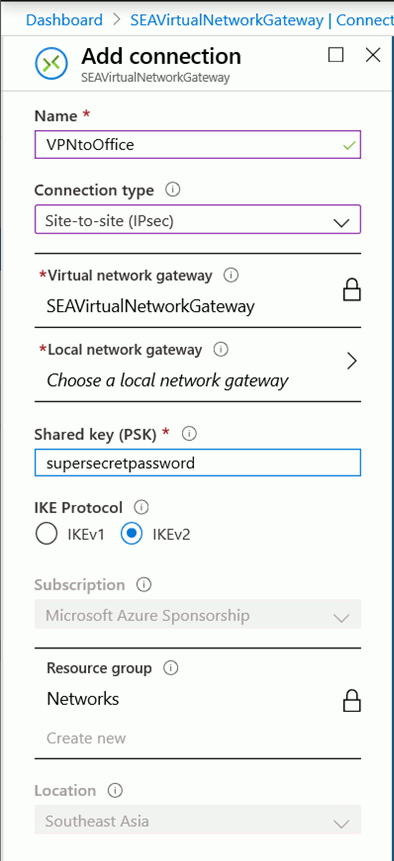
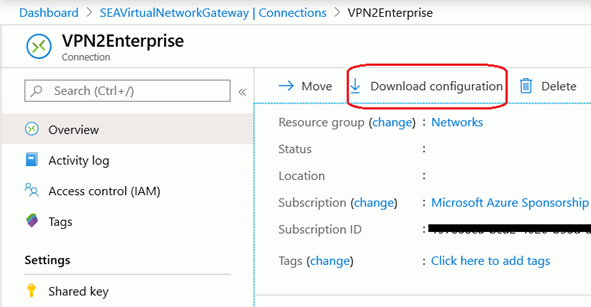
Local Network Gateway = Choose the one created in Step 4 - Once the connection has been added open it and click Download configuration.
- For this example I have downloaded a Cisco IOS based configuration
- Edit the downloaded *.txt file as required for your network and apply it to your router
- All done
As always, if you require any assistance, please reach out to us.