Azure Backup for On-Premise Servers: A Complete Guide

LinkedIn
Twitter
Facebook

Table of Contents

IT Networks How-To Logo

Azure Backup

You can now backup your physical on-premises servers (not virtualised  VMware/Hyper-V servers) using Azure Backup. Microsoft Azure Recovery Services (MARS) provides a software agent that is installed on the source server to facilitate the transfer of data to Azure.

Lets configure this, here is how to do it:

  1. Login to the Azure Portal 
  2. Create a Vault. Think of a Vault as a place where to store your backups. If you are old school, think of it as an LTO Tape.
    Go to New > Create Resource > Backup and Site Recovery
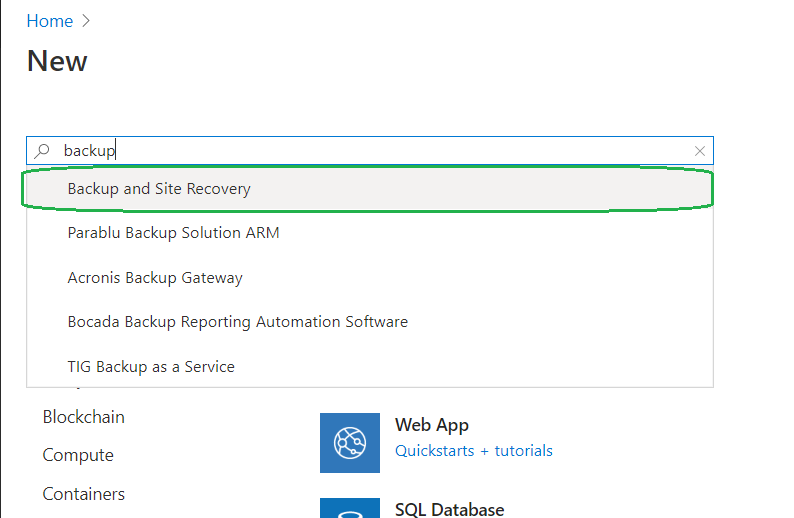
  3. Complete the setup.
    If required create a resource group. I’ve made a new resource group ‘BackupRG’ as I like to separate things, it allows me to determine how much Microsoft has charged for the backup portion.azure vault settings
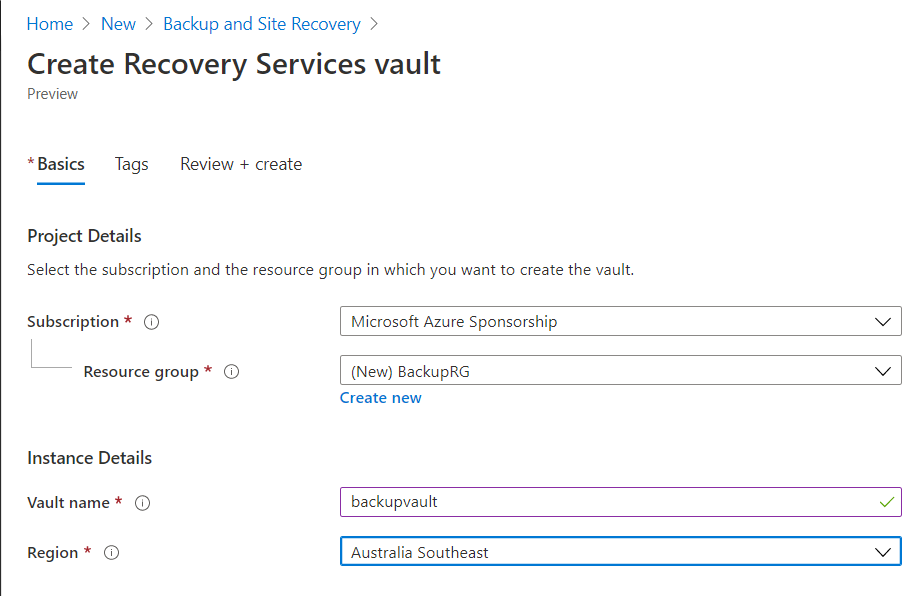
  4. After the Vault has been created, go to Recovery Service Vaults from the home screen, then click on your newly created Vault.open recovery service vault
  5. In the Vault, click +Backup
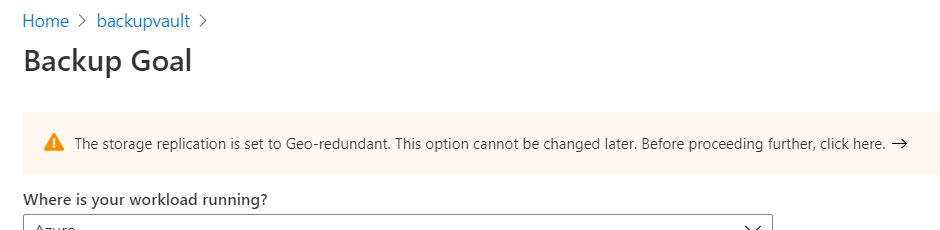
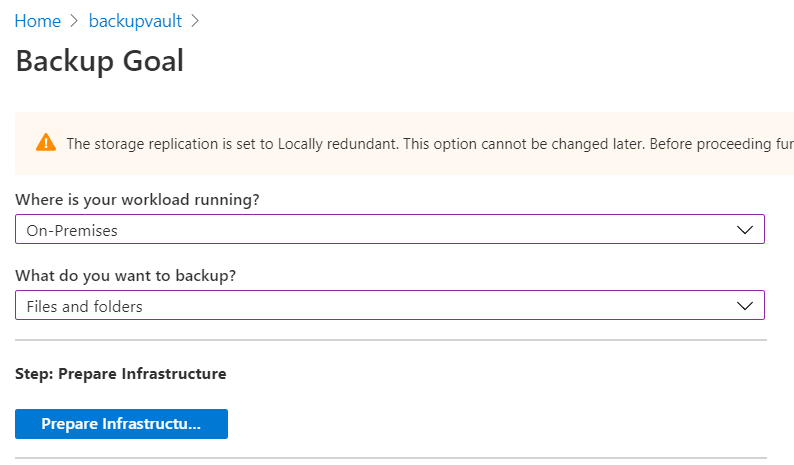
  6. You will be prompted that Storage replication is set to Geo-redundant. Click the link and change it to Local Redundancy (unless you really want it!)change storage redundancy
  7. In workload, choose “On-Premises”. For backup selection, choose “Files and folders”.configure backup settings
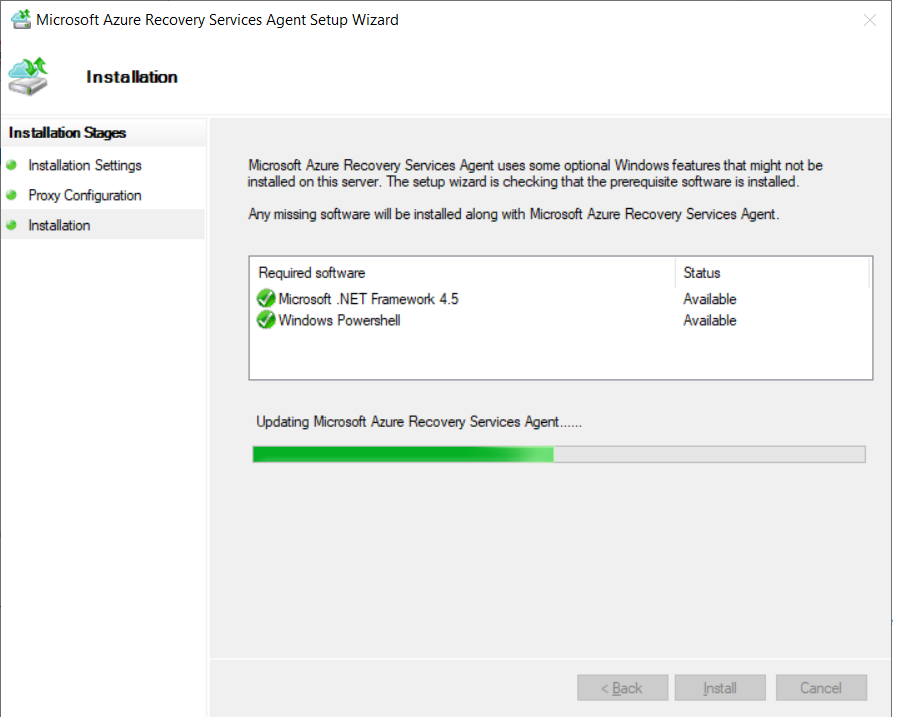
  8. Download the Agent in Step 1 and then run this on the source server.download agent
    *Hint* Do not close this page, we will need to refer back to it.
  9. Install the Agent with all defaults, when prompted, “Proceed to Registration”install agent on source Serverinstall agent registration
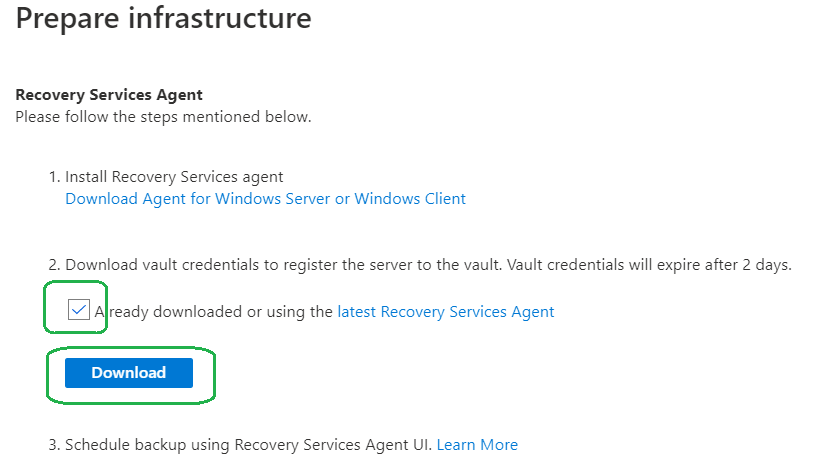
  10. Go back to the Azure Portal page that you left open in Step 8
  11. Tick ‘Already downloaded or using…..’, then download the Vault Keydownload vault key
  12. Go back to the Agent install and provide the Vault Key that you just downloaded.install agent key
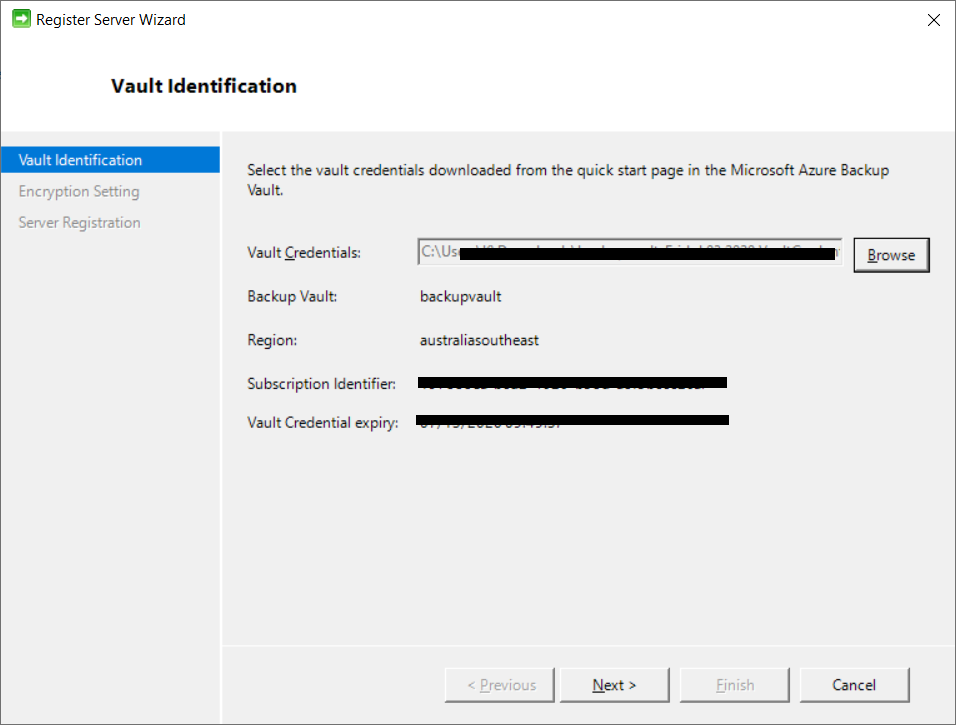
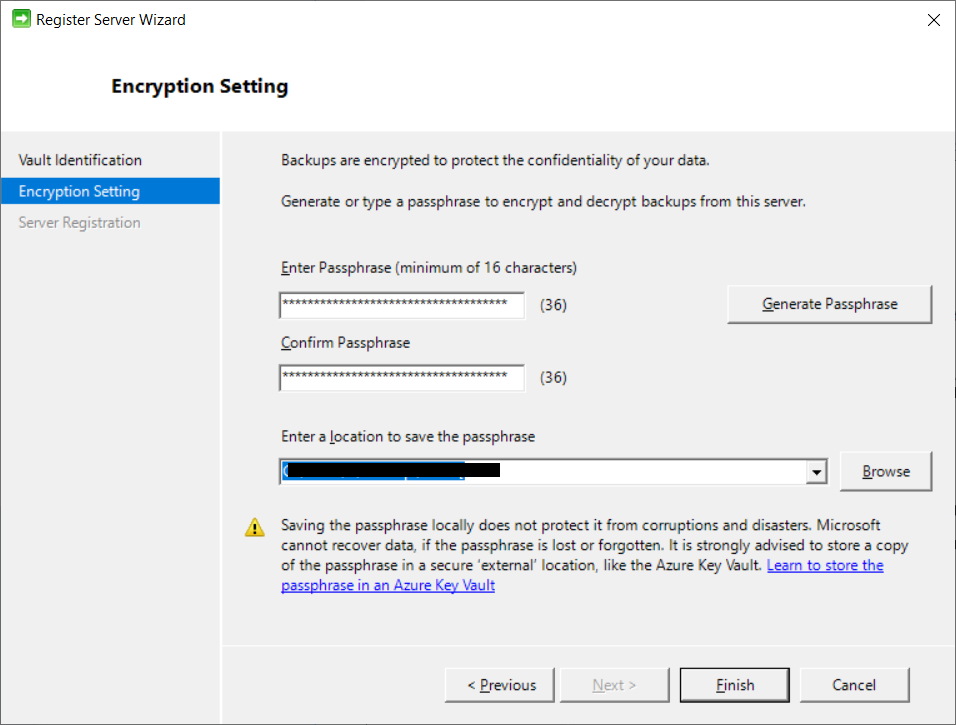
  13. Generate a password to encrypt the backup, or enter your own. Then finish the setup.generate a password for encryption
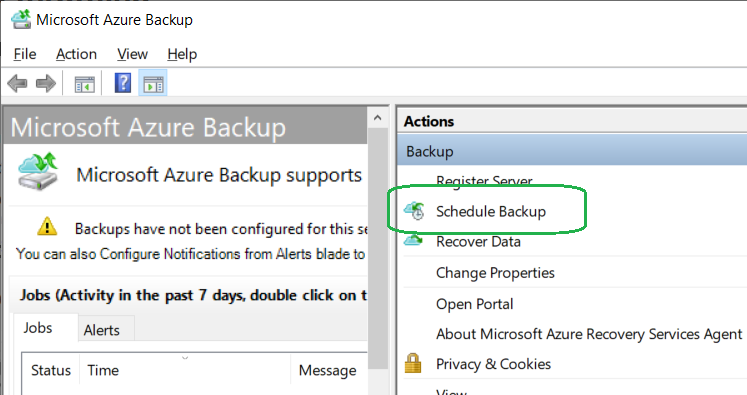
  14. Open Microsoft Azure Backup that is now installed on your server
  15. Click “Schedule Backup”, then basically configure what you want to backup and when.configure agent backup settings

That is pretty much all you need to do to backup your local Server.  We will publish another Azure Backup article shortly that will focus on Backups & Replication for VMware & Hyper-V Servers.

As always if you need assistance with this, please feel free to reach out.

Sign up to receive the latest news and offers from IT Networks​

About IT Networks

At IT Networks, we provide managed IT services designed to keep your business running smoothly and securely. From handling day-to-day IT operations to implementing robust cyber security solutions, we ensure your technology works seamlessly so you can focus on what matters most—growing your business. Let us streamline your IT infrastructure, enhance your security posture, and help you drive greater success.
Kim Pham - IT Network Security