


The first step is to create ‘Labels’.
A Label is a way to tag or classify a document, e.g. General Document, Confidential, Super Secret Confidential….
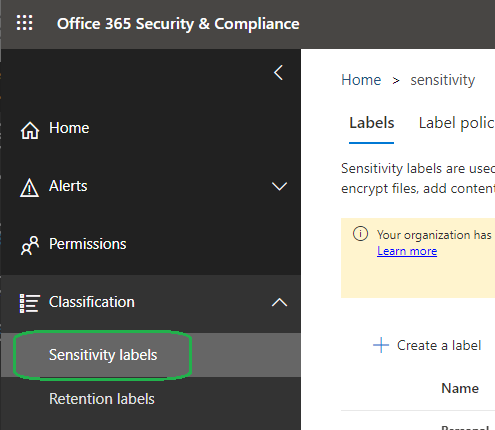
- Head over to https://protection.office.com
- Go to Classification > Sensitivity Labels
- On the Labels page click Create a label
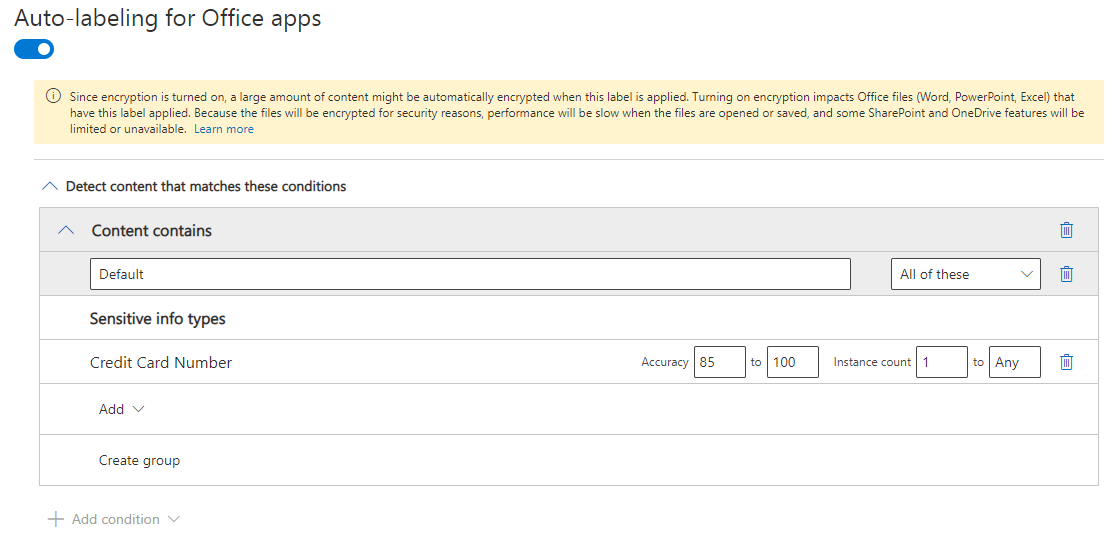
- Create the label and choose the options you want. Pay special attention to the “Auto-labeling for Office apps”. This allows you to create conditions such as detecting credit card numbers in documents.
- Finish creating all the possible labels you think you may need.
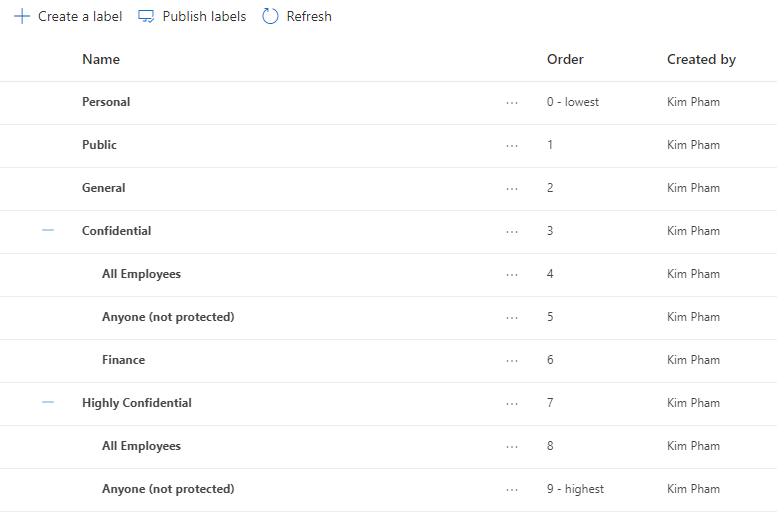
In the example above, the labels were actually migrated from Azure Information Protection which has been depreciated as of 31 March 2020. - When all labels have been created, click Publish Labels. This will create a ‘Policy’ which you can then assign to users later.
- When asked which labels to publish, choose all the labels created, you can then choose which users to assign the policy to. For Policy Settings, choose the lowest label you have which all documents will be classified as. In this example I have chosen the General label.
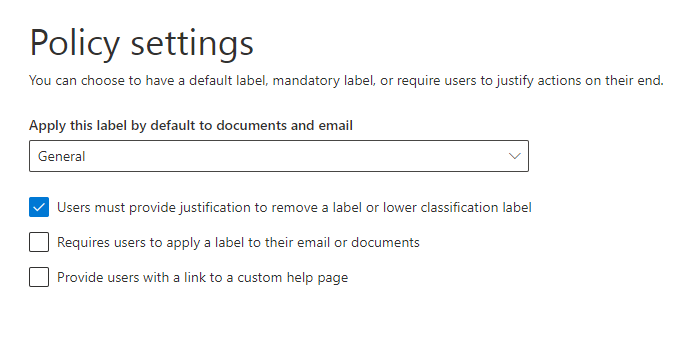
* All documents created will be classified as “General” - Allow some time for the new policy to propagate. While you are waiting, download & install the Azure Information Protection Client.
After the policies have propagated, on the computer where you installed the client in Step 8, open Microsoft Word.
Let’s test a label: As an example I created a label called ‘Finance’.
In Step 4, I enabled the Auto-labeling option to check for credit cards. If the document were to contain a credit card number a few things should happen:
To test this, in the Word document type in something like “Credit Card 4564-4242-4242-4242”

Now save the document locally somewhere on your computer.
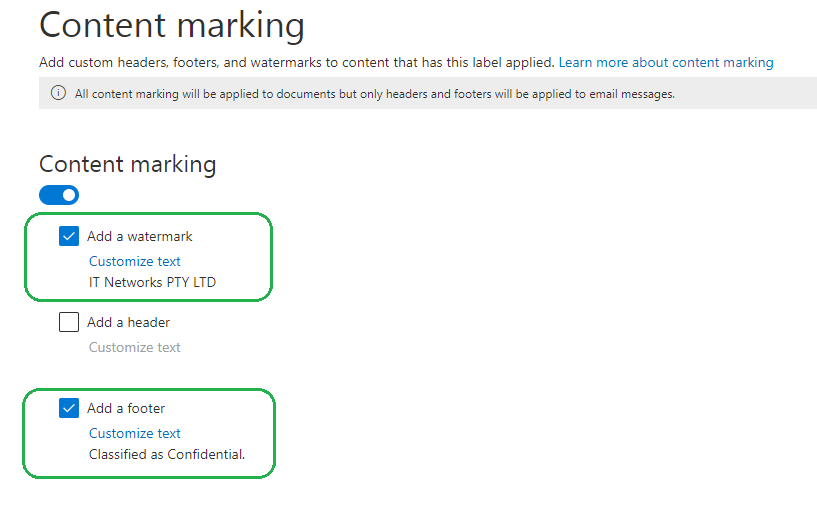
As you can see, Word automatically detected that the document contains a credit card number and has added the footer and watermark as per the Label Content marking settings.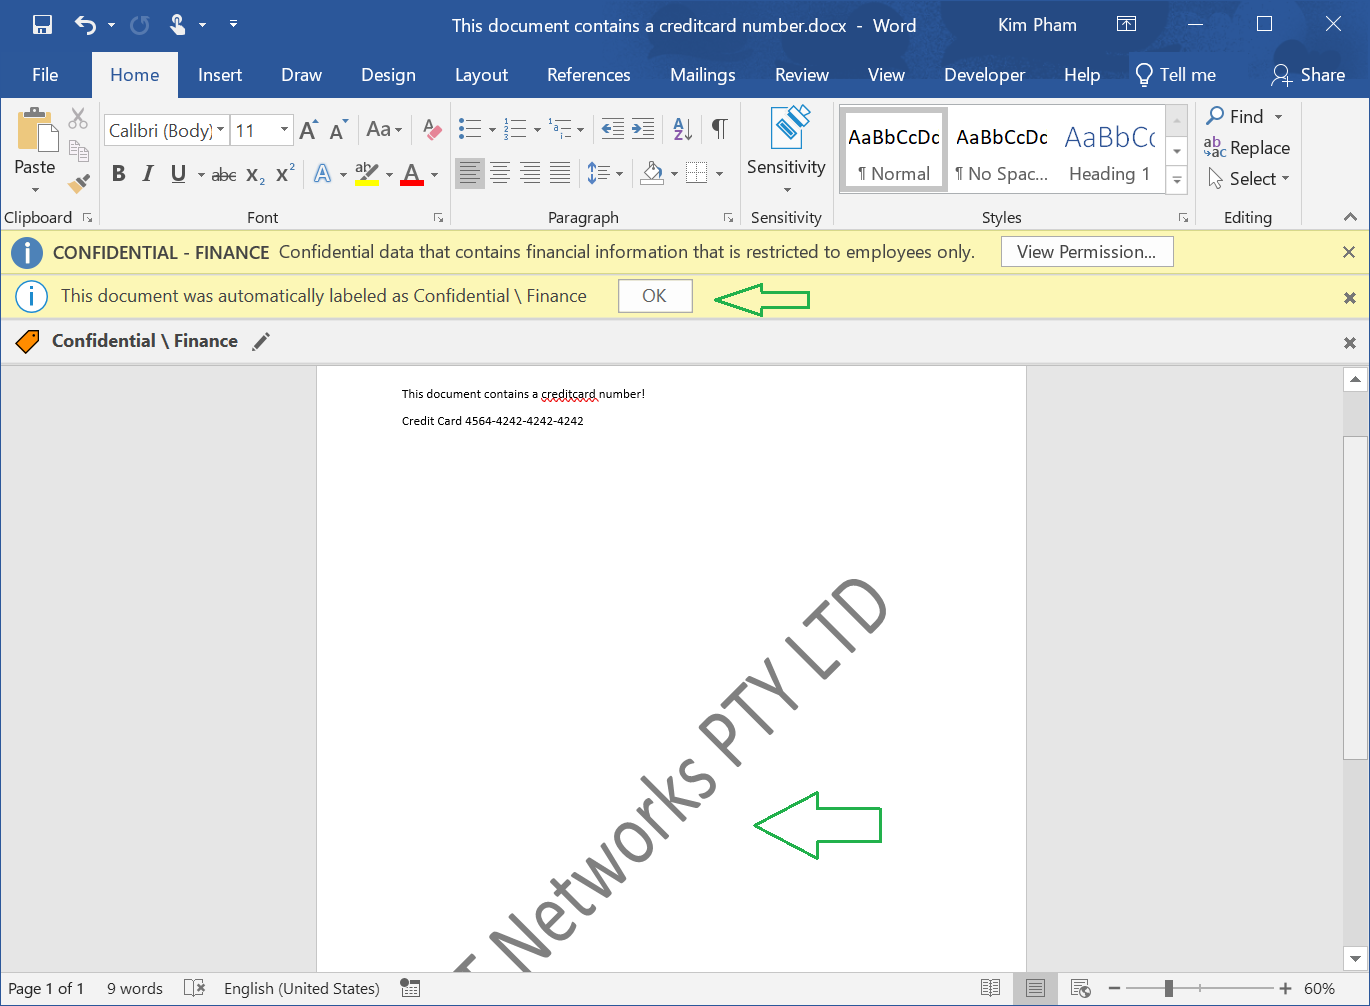
Okay, let’s test something more business relevant. Earlier I also created a label that has encryption turned on. Encryption allows you to control such things as access permissions so the document cannot be decrypted unless the Label Policy conditions are met.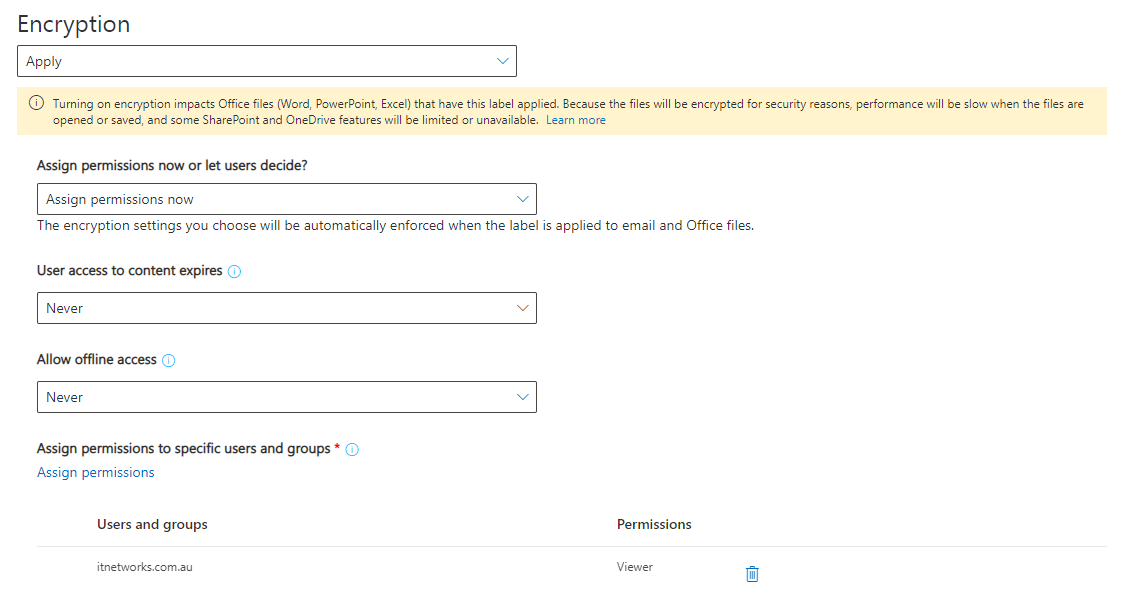
The settings above indicate that only users in the domain “itnetworks.com.au” can view the document. There are also additional settings that do not allow the document to be opened offline (no internet).
Let’s test to see if it works and what happens if I send this document to a 3rd party who is not part of “itnetworks.com.au”.
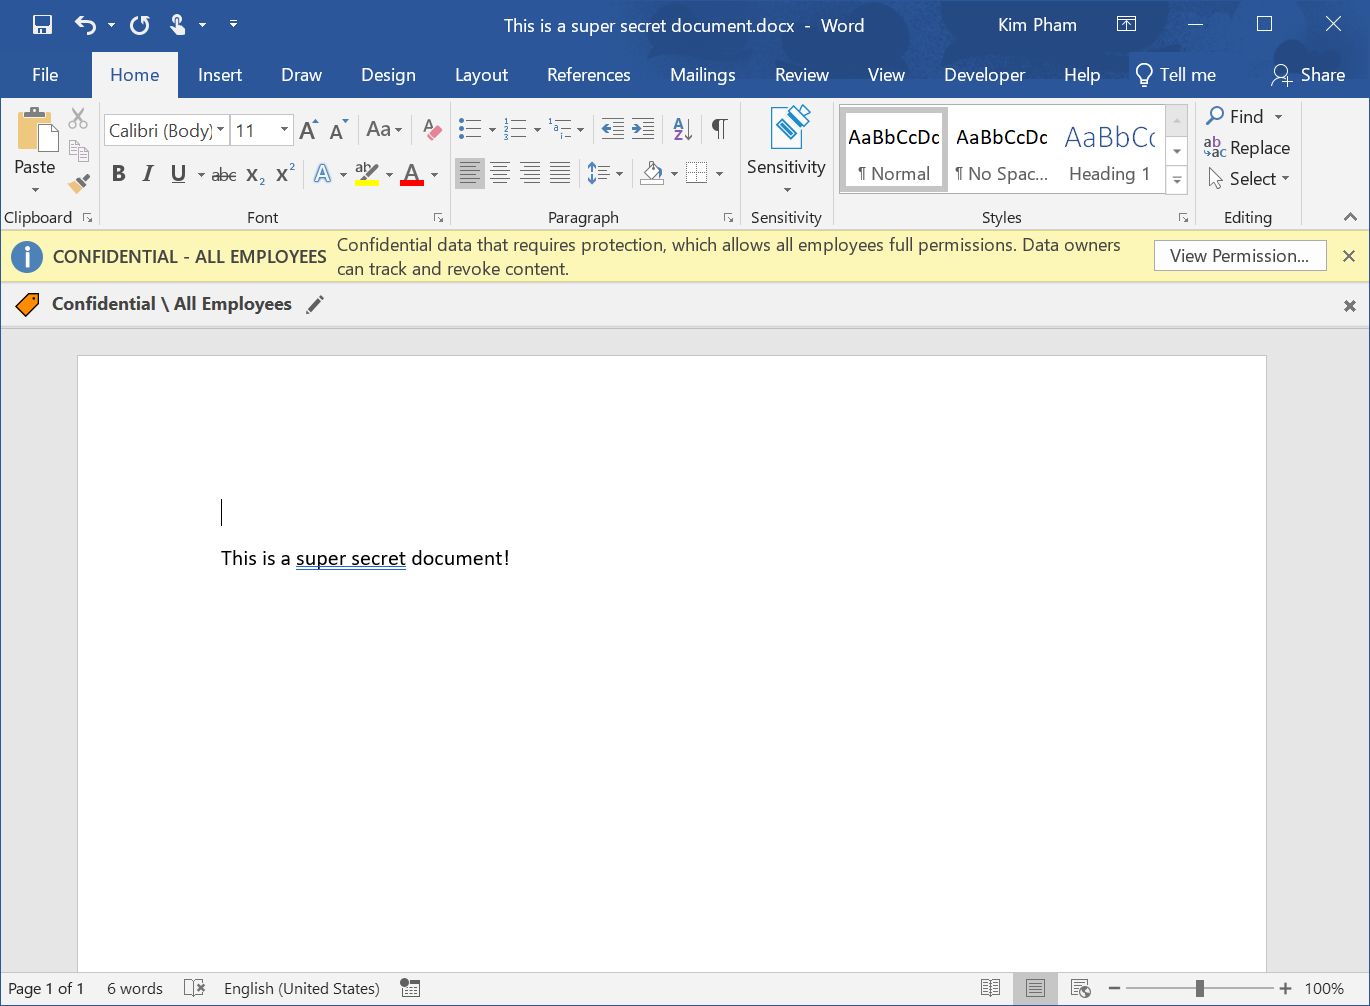
First let’s create the document in Word and mark it as “Confidential”.
Next we send the email to someone outside of “itnetworks.com.au”. They will receive the email as usual with the attachment:

When the 3rd party tries to open the document they get:
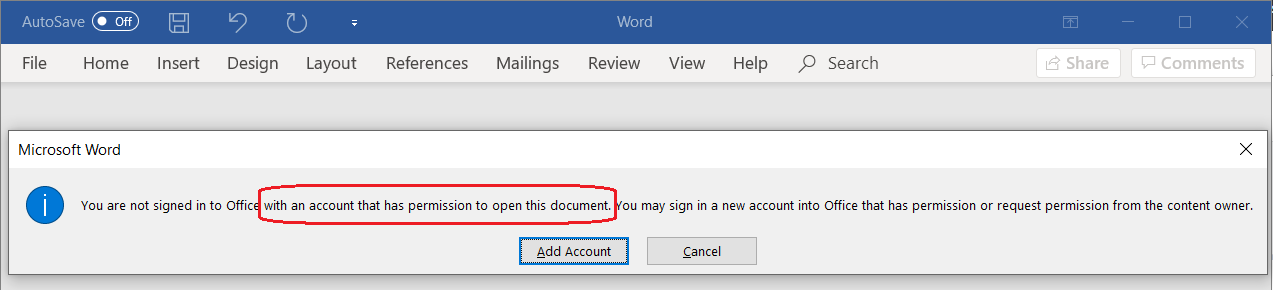
If you are not authorised to access the document, you have no way of opening the file. Your information is protected!
I hope you have found this article helpful, as always please feel free to reach out if you need assistance.